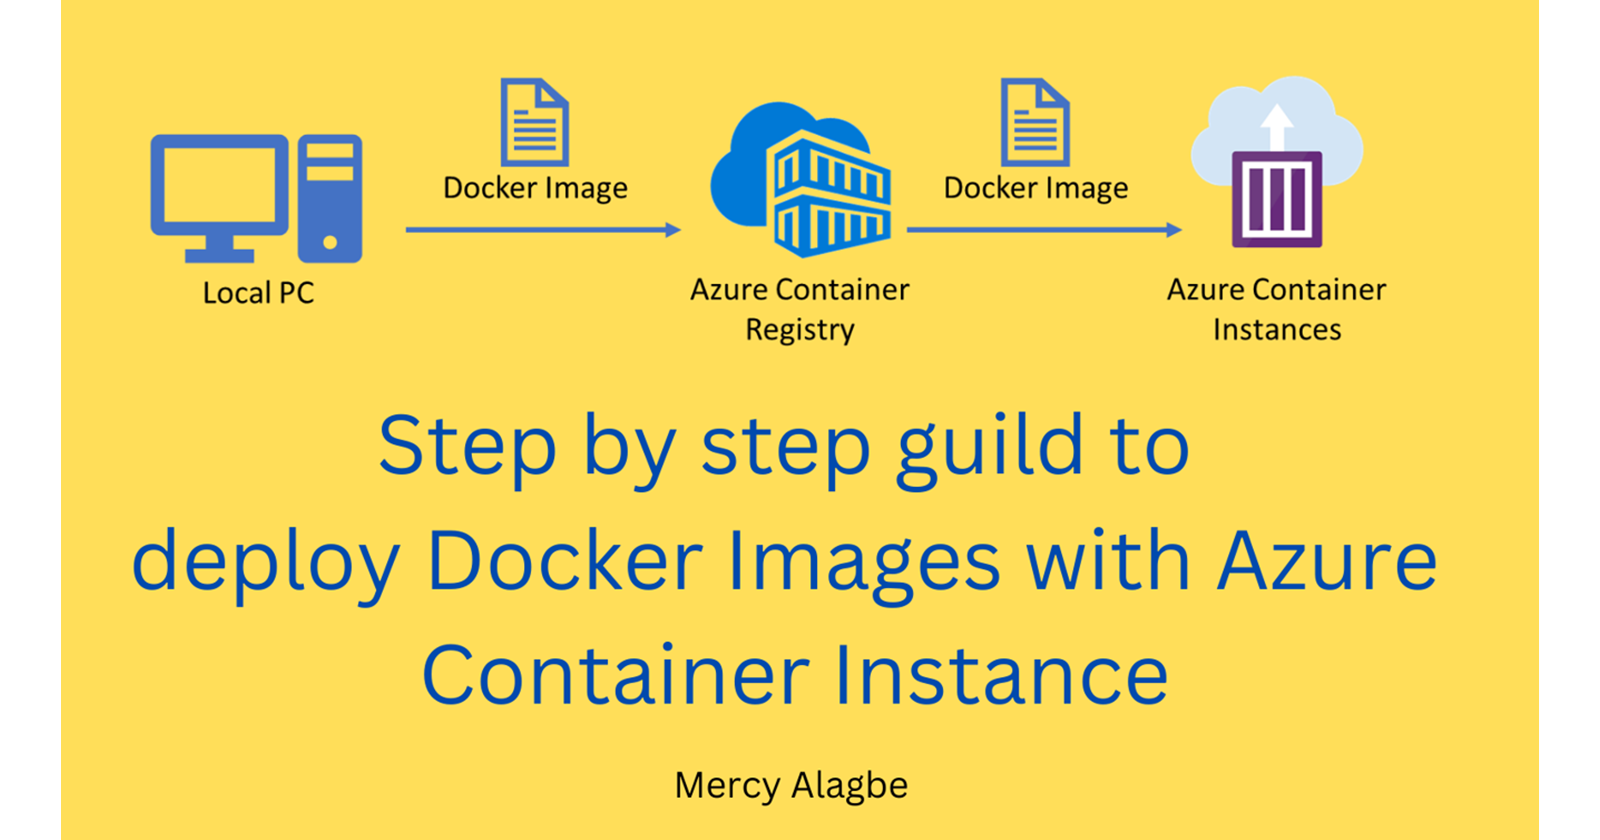
Containerizing A Sample HTML Application Using Docker

I'm a cloud enthusiast documenting my journey.
Docker is an open source containerization platform. It enables developers to package applications into containers, standardized executable components, combining application source code with the operating system (OS) libraries and dependencies required to run that code in any environment. Docker creates image that be can run on any machine, server, and cloud. To get this image, Docker uses Dockerfile to write an introduction on containerizing the HTML application. In this blog post, we are going to containerize a sample html application using docker. Make sure you install Docker Desktop and VS code on your computer.
In this HTML, Docker and Nginx guide, you will learn the following:
Create Dockerfile
Build Docker Image
Running the Container
Verify the image on Docker Desktop
Access your html project.
Step1: Create a Dockerfile
First, you need a simple Dockerfile built with Docker Image that contains instructions that will dockerize your website on docker.
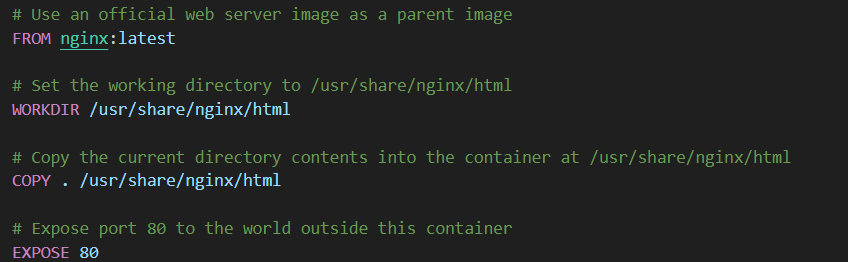
Dockerfile tells Docker what to do. using the latest version of the official Nginx Image.
Step2: Build Docker Image
Open your VScode, open terminal in the same directory as your Dockerfile and execute this following commands to build Docker image:
docker build -t your html-app .
NOTE: Rename your html-app
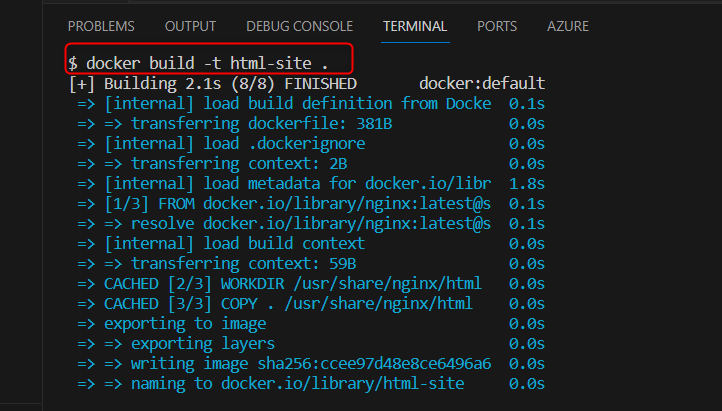
The image is ready, run docker images to confirm it:
docker images
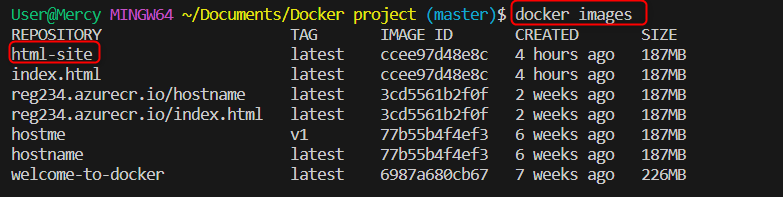
Step3:Running the Docker Container
A container executes your image and expose it so that you can access it. Once the Docker image is built, you can run a container based on that image. Use the following command: docker run -d -p 8080:80 your html-app
docker run -d -p 8080:80 html-site
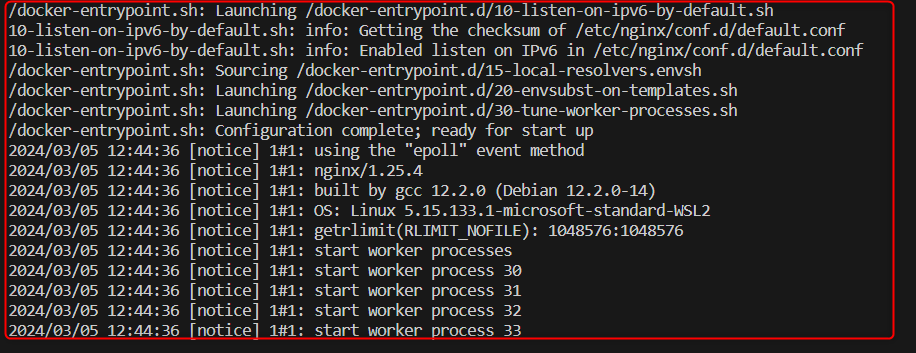
In this case:
8080 is the port your website will be exposed to. You can change this port if you need to
80 is the port serving the NGINX server. This port should remain constant.
html-site is the image name you built in the previous step.
Step4: Verify the image on Docker Desktop
Open docker and check your new build: Navigate to images.
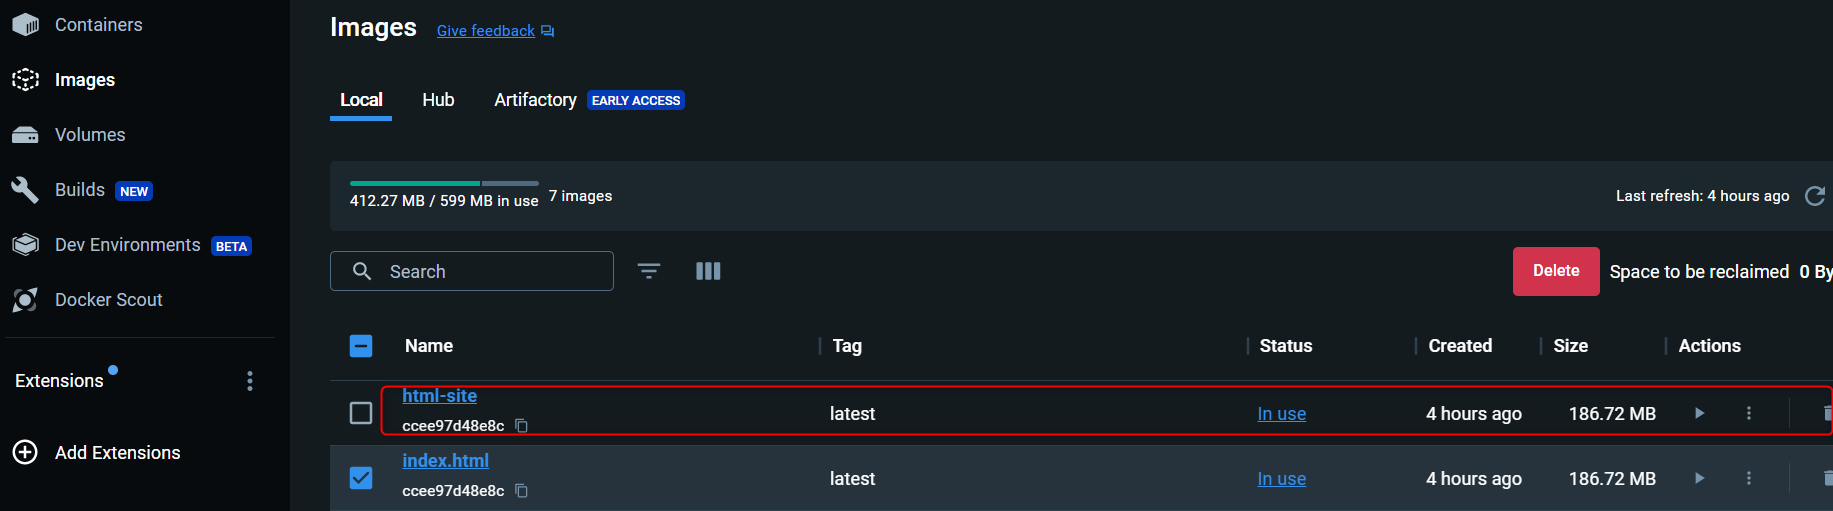
Step5: Access your html project
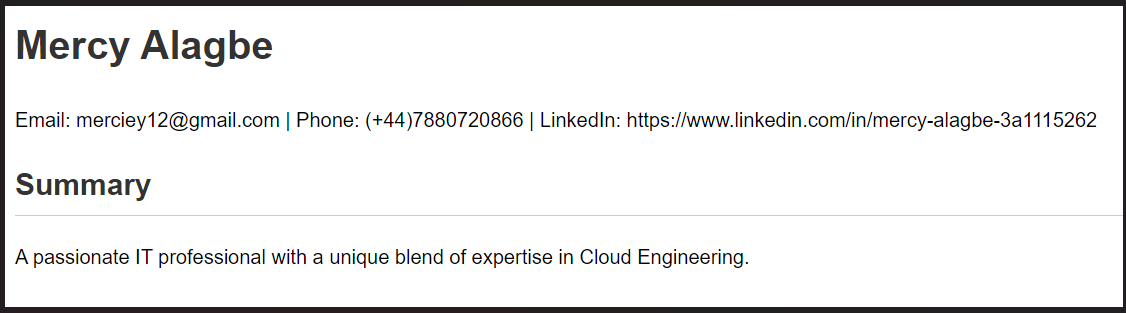
Container is ready. Open a web browser to see http://localhost:8080/, and now you should get your html app on Docker from port 8080:
Conclusion
Docker allows you to package and ship your HTML application to your chosen infrastructure such as K3s Cluster on AWS EC2.
If you encounter any problem, leave a comment, and we will assist you. thank you!